

Hey there! As a supplier of Mesh Belt Tunnel Ovens, I'm super excited to walk you through the installation process. Installing a Mesh Belt Tunnel Oven might seem like a daunting task, but with the right steps and a bit of know - how, you'll have it up and running in no time.
Pre - installation Preparations
Before you even start unpacking the oven, there are a few things you need to take care of. First off, you've got to pick the right location. The place where you're going to install the oven should be level. Uneven floors can cause all sorts of problems, like the oven not sitting properly and potentially affecting its performance. You can use a spirit level to check the floor. If it's not level, you might need to use shims to adjust.
Also, make sure there's enough space around the oven. You need to have easy access to all sides for maintenance and repairs. Plus, proper ventilation is a must. Mesh Belt Tunnel Ovens generate heat, and without good ventilation, the temperature in the area can rise to dangerous levels. You should have exhaust fans or vents installed in the room.
Another important thing is to check the power supply. Mesh Belt Tunnel Ovens usually require a specific voltage and amperage. Make sure your electrical system can handle the load. It's a good idea to have an electrician check it out before you start the installation.
Unpacking and Inspection
Once you've got the location sorted, it's time to unpack the oven. Be really careful when you're doing this. The oven parts are often heavy and can be easily damaged. Start by removing the outer packaging. Check for any visible signs of damage during shipping, like dents or scratches. If you find any, make sure to document it right away and contact the shipping company.
After unpacking, lay out all the parts in an organized way. You should have a detailed parts list that came with the oven. Go through the list and make sure you have everything. If any parts are missing, contact us right away. We'll get you the missing parts as soon as possible.
Assembly
Now, let's get into the assembly part. Start with the frame. The frame is the backbone of the oven, so it's crucial to assemble it correctly. Follow the instructions carefully. Usually, the frame comes with pre - drilled holes and bolts. Use the right tools to tighten the bolts, but don't over - tighten them. Over - tightening can damage the frame.
Next, install the mesh belt. The mesh belt is what moves the products through the oven. It needs to be installed evenly and with the right tension. If the belt is too loose, it can slip, and if it's too tight, it can wear out quickly. There are usually adjustment mechanisms on the sides of the oven to set the belt tension.
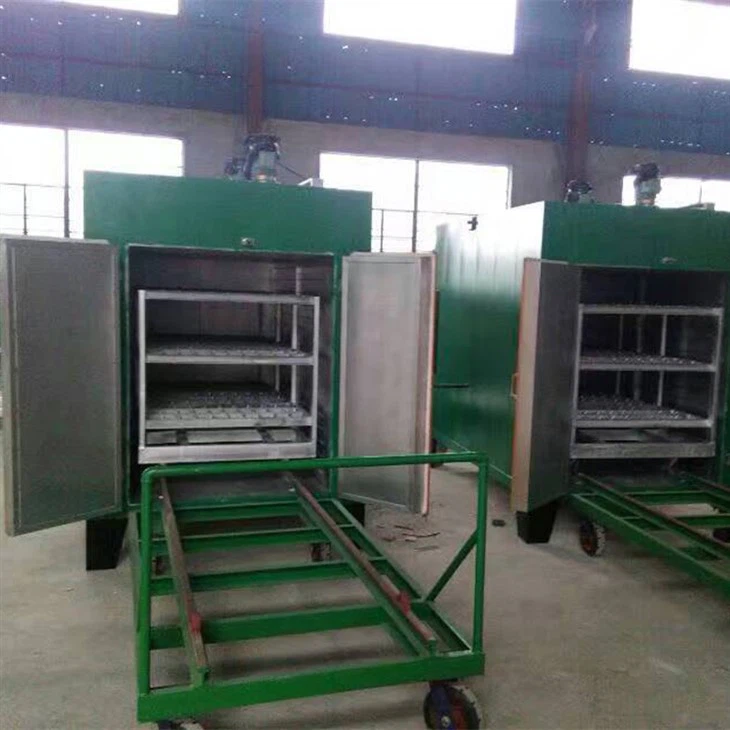

After the belt is installed, it's time to put in the heating elements. The heating elements are what heat up the oven. They need to be installed in the right position and connected properly to the electrical system. Make sure to follow the wiring diagram that comes with the oven. If you're not confident with electrical work, it's best to hire a professional electrician.
Connecting Utilities
Once the assembly is done, you need to connect the utilities. First, connect the electrical supply. Make sure all the connections are secure and that there are no loose wires. After connecting the electricity, test the electrical system. You can use a multimeter to check the voltage and make sure everything is working as it should.
Next, connect the ventilation system. The ventilation system is important for removing the hot air and fumes from the oven. Make sure the ducts are properly connected and sealed to prevent any leaks.
Testing and Calibration
After all the connections are made, it's time to test the oven. Turn on the power and let the oven heat up. Monitor the temperature using a thermometer. The oven should reach the set temperature within a reasonable time. If it doesn't, there might be an issue with the heating elements or the temperature control system.
You also need to test the mesh belt. Make sure it moves smoothly and at the right speed. You can adjust the speed using the control panel on the oven.
Calibration is another important step. You need to calibrate the temperature and the belt speed to ensure accurate and consistent results. Follow the calibration instructions in the user manual.
Maintenance Tips
Once the oven is up and running, regular maintenance is key to keep it in good condition. Clean the oven regularly to remove any debris or residue. Check the heating elements and the belt for wear and tear. Replace any parts that are damaged or worn out.
If you're looking for other types of industrial ovens, we also offer Industrial Benchtop Oven, Explosion - proof Industrial Oven, and Explosion - proof Hot Air Circulation Oven. These ovens are also high - quality and can meet different industrial needs.
If you're interested in purchasing a Mesh Belt Tunnel Oven or have any questions about the installation process, feel free to reach out to us. We're here to help you every step of the way. Whether you're a small business or a large industrial operation, we can provide the right solution for you.
References
- Manufacturer's Installation Manual for Mesh Belt Tunnel Ovens
- Electrical Safety Guidelines for Industrial Equipment
- Ventilation Standards for Industrial Ovens