As a seasoned supplier of high temperature ovens, I often encounter customers who face issues with their oven control panels. Whether it's due to wear and tear, technological advancements, or a simple malfunction, replacing the control panel can be a crucial step in ensuring the optimal performance of your high temperature oven. In this blog post, I'll guide you through the process of replacing the control panel of a high temperature oven, sharing insights based on my years of experience in the industry.
Understanding the Importance of the Control Panel
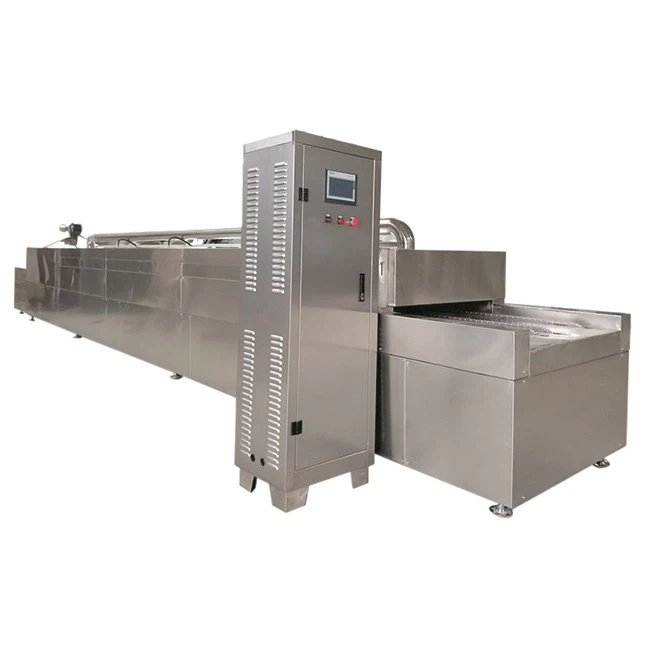
The control panel is the heart of a high temperature oven. It allows users to set and monitor various parameters such as temperature, time, and heating mode. A malfunctioning control panel can lead to inaccurate temperature readings, inconsistent heating, and even safety hazards. Therefore, it's essential to replace a faulty control panel promptly to maintain the efficiency and safety of your oven.

Preparing for the Replacement
Before you start replacing the control panel, it's crucial to take some preparatory steps to ensure a smooth and safe process.
Gather the Necessary Tools
You'll need a set of basic tools for this task, including a screwdriver, pliers, and a multimeter. The screwdriver will be used to remove the screws holding the control panel in place, while the pliers can be handy for disconnecting wires. The multimeter is essential for testing the electrical connections and ensuring that the power is off before you start working.
Turn Off the Power
Safety should always be your top priority when working with electrical equipment. Before you begin, make sure to turn off the power supply to the oven at the circuit breaker. This will prevent any electrical shocks or short circuits during the replacement process.
Identify the Control Panel Model
To ensure that you purchase the correct replacement control panel, you need to identify the model of your current control panel. This information can usually be found on a label or sticker on the control panel itself. Make a note of the model number and any other relevant details, such as the brand and the voltage requirements.
Removing the Old Control Panel
Once you've completed the preparatory steps, you can start removing the old control panel.
Remove the Screws
Use the screwdriver to remove the screws that hold the control panel in place. Depending on the design of your oven, these screws may be located on the front, back, or sides of the control panel. Keep the screws in a safe place to avoid losing them.
Disconnect the Wires
Carefully disconnect the wires from the control panel. It's important to note the position of each wire and label them if necessary. This will make it easier to reconnect the wires to the new control panel later.
Remove the Control Panel
Once the wires are disconnected, you can gently pull the control panel out of the oven. Be careful not to damage any other components or wires inside the oven.
Installing the New Control Panel
After removing the old control panel, it's time to install the new one.
Connect the Wires
Refer to the labels or notes you made when disconnecting the wires from the old control panel. Connect the wires to the corresponding terminals on the new control panel. Make sure the connections are secure and tight.
Mount the Control Panel
Place the new control panel in the same position as the old one and align it with the screw holes. Insert the screws and tighten them using the screwdriver.
Test the Control Panel
Before you turn on the power, double-check all the connections to ensure they are correct. Once you're satisfied, turn on the power supply to the oven at the circuit breaker. Test the control panel by setting the temperature and other parameters. If everything is working properly, the oven should start heating up according to your settings.
Troubleshooting Tips
If you encounter any issues during the replacement process or after installing the new control panel, here are some troubleshooting tips:
Check the Connections
Make sure all the wires are properly connected to the control panel and the oven. Loose or incorrect connections can cause the control panel to malfunction.
Test the Power Supply
Use a multimeter to check the power supply to the control panel. If there is no power, check the circuit breaker and the wiring for any faults.
Consult the Manufacturer's Manual
If you're still having problems, refer to the manufacturer's manual for your oven. It may contain specific troubleshooting instructions or contact information for technical support.
Conclusion
Replacing the control panel of a high temperature oven can be a challenging task, but with the right tools and knowledge, it's definitely doable. By following the steps outlined in this blog post, you can ensure a successful replacement and keep your oven running smoothly.
If you're in the market for a high temperature oven or need a replacement control panel, we're here to help. We offer a wide range of Hot Air Circulation Drying Room, Mesh Belt Tunnel Oven, and Curing Drying Oven that are designed to meet the highest standards of quality and performance. Contact us today to discuss your requirements and let us help you find the perfect solution for your needs.
References
- Manufacturer's manuals for high temperature ovens
- Industry standards and guidelines for oven maintenance and repair